Saturday, 19 March 2016

Workshops available to book now!

So it's Saturday morning and as I'm writing this many of you will still be in bed enjoying a much needed lay in, Not me! I was woken at 8:10am by the delivery lady ring lots of yummy craft goodies.

I wanted to let you know about my workshops that  I am running at the Craft4Crafters show in April.

Below is a list of days, times and workshop details. All workshops can be booked by emailing me direct at tkoszler@yahoo.co.uk


Introduction to book folding 


11am-12am Thursday 21st, Friday 22nd, Saturday 23rd

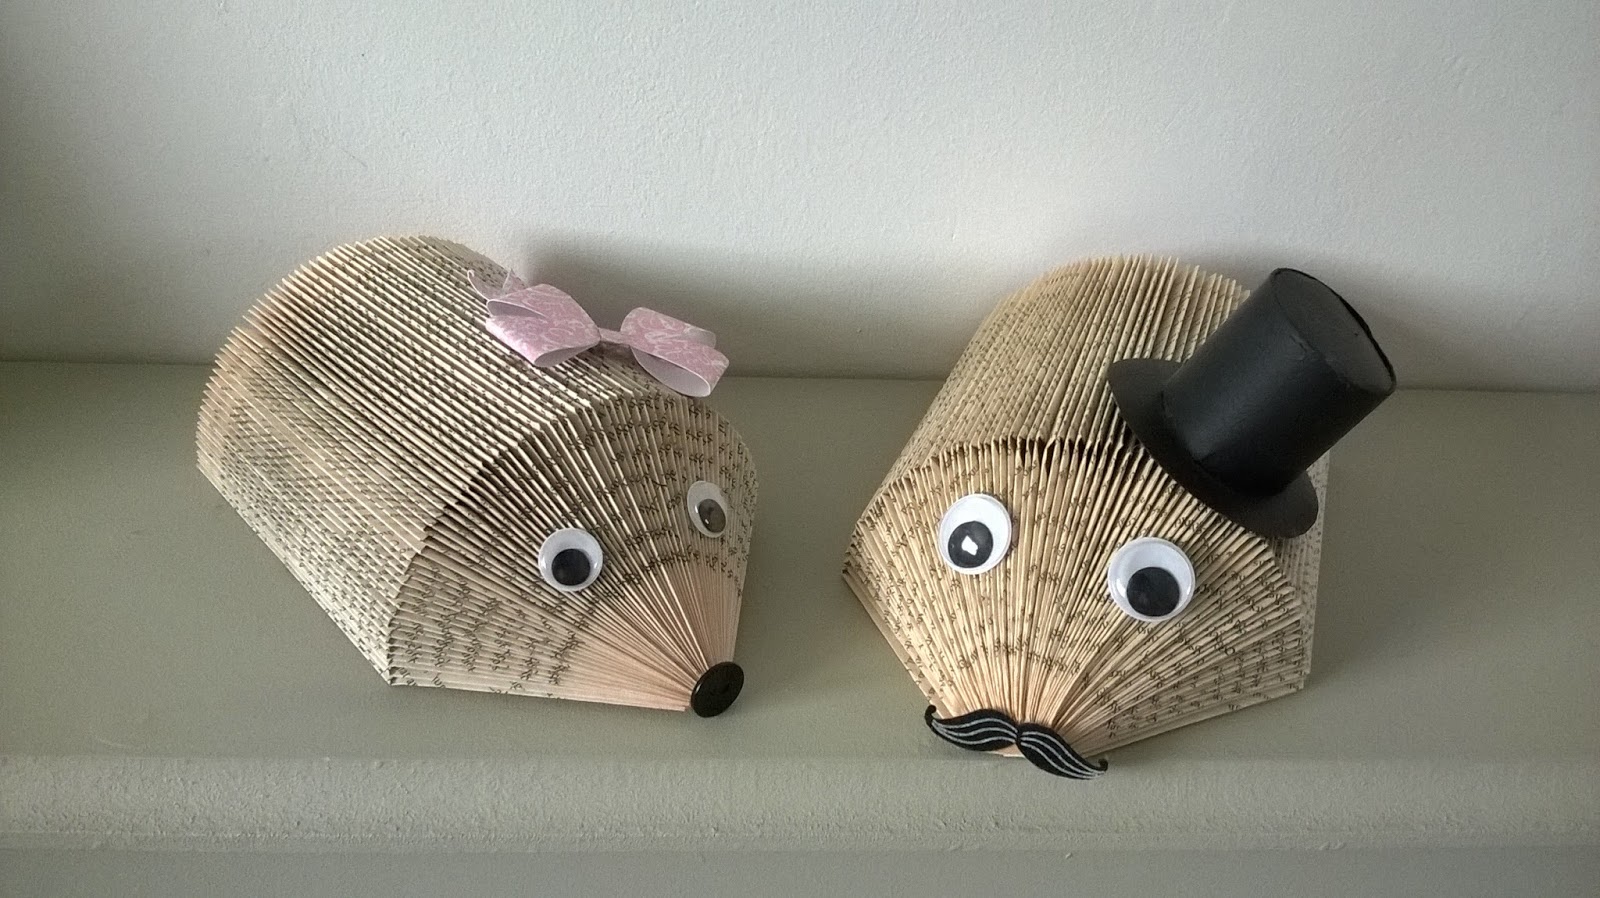
Join me in my highly creative and enjoyable workshop where you will be able to learn the first steps in book folding, In this class you will get the chance to make a book folded hedgehog and discover how easy it is to take the skill you have learnt and progress to the next level and take up this great hobby. £2.50


Butterfly Wall hanging


1pm-2pm Thurday 21st, Friday 22nd, Saturday 23rd

In this class you will get the chance to make a truly stunning paper butterfly wall hanger using recycled book pages. I will take you through step by step how to make this decorative creation which you will be able to take away with you. £3


Rose Wreath


3pm-4pm Thursday 21st, Friday 22nd, Saturday 23rd

Have you ever  fancied learning how to make paper roses, great for using on all types of applications. In this workshop you will be using book pages to make 2 different styles of roses which can be used to decorate a wreath. £3

If you haven't booked your tickets for the show yet you can do so by visiting the Craft4Crafters website, I will also be running ticket giveaways over on my facebook page Home is where the craft is

I would love it if you could join me, it would be lovely to meet some of my followers.

Have a fantastic weekend T x

Friday, 18 March 2016

Paperbabe Stamps challenge 29

Picture Inspiration


Today we have a new challenge on the blog. Why not join in by posting a picture using the link on the paperbabe stamps website and you could be in with a chance of winning a prize.

I was inspired by the flower colours in the picture; pink white and green and decided to make a spring themed card.


I created my card using the Adorimals digi collection and kawaii face stamp set to created a bunny which I then hot foiled and added to a foiled daisy background.

Pop over to the Paperbabe blog here for all the T&C'S and more design team inspiration.

Robins Nest design team project - sneak peak

It's that time again folks, I have a new project live on the Robins Nest Blog.

Here is a bit of a sneak peak

Can you guess what I have made with this pile of goodies?


Click here to see if you where right.

Terri

Wednesday, 16 March 2016

Book page art

A quick post today to share with you something new I tried this week.

I have been putting together materials for some workshops using book pages and had some spare so thought to myself "how can I take a book page and make it beautiful?"

I know, add a few stamped images and colour with promarkers


Isn't it pretty? I love it so much I am going to frame it.

I will be trying more images to achieve different results and will keep you posted.

I'm back Friday with 2, yes 2 design team projects to share, until then have a fab evening T x

Saturday, 12 March 2016

Competition time - Tickets to the Craft4crafters show to give away

Exciting news

Following on from yesterdays post I can now tell you that I've teamed up with the lovely people over at www.craft4crafters.co.uk and have a pair of tickets to give away for the upcoming show at The Bath and West Showground 21st-23rd April.


If you'd like to win these tickets all you need to do is pop over to my Facebook page Home where the craft is and comment below the pinned post and tag who you would take with you, it's as simple as that.

All entrants will be allocated a number and the winner will be chosen using a random number generator.

Entry closes on Friday 19th at 5pm and the winner will be announced here at 6pm 
Good luck and remember although sharing isn't required, sharing is caring!

Friday, 11 March 2016

Exciting news, this week has been amazing....

Oh my word, this week has been so super, I can barely type as I am just smiling so much and am so excited.

The week started with a huge opportunity that I was not expecting, more about this in a moment.....

Tuesday I received a phone call from Create and craft TV to tell me I had been chosen as their club member of the month and would feature on their website and receive a £20 account credit to spend on craft goodies.


Wednesday I got the chance to work with some papers for a craft magazine, which are a future freebie and hopefully my card will feature in their magazine and on their social media pages.


Thursday I accepted Mondays offer and lots of planning has begun and it's so much fun 


Today I received a huge bouquet of flowers from Create and Craft and to celebrate had a lovely breakfast treat with my husband.


I wont keep you in suspense anymore, so without further ado, my exciting news is;

I will at the Craft4crafters  show 21-23 April at Bath and West Showground. Over the 3 days I will be running workshops teaching 3 different projects.


I can't tell you how excited I am, it's a big dream of mine to be able to show what I do at craft shows and now I have taken the plunge.

I will be releasing details of the workshops, how you can buy or even win entry tickets to the show and much more very soon.

Phew, that was a lot on info. I hope you all have a fantastic weekend, I'm off for a lie down. take care T x

Thursday, 10 March 2016

Tutorial 14- Distress Inks tie-dye watercolor effect (Part 2)


So here we are, part 2 of the distress ink tie-dye tutorial. I will be showing you how I used the amazing overlay in my crafting to create not 1 but 2 cards!


For this stage I will be using

My decorated overlay
co-ordinating paper from the Craftwork Cards Celebrations paper pad
double sided tape
a card blank
Cadni fix foam pads
a craft knife
metal ruler
Hi Tack glue
and my trusty pergamano tool
twine


I started by cutting a piece of the blue paper to the same size as my card overlay


On the reverse of my overlay I added the candi fix pads to the die cut chevrons and removed the backing with my pergamno tool ***TOP TIP- My tool has a very small needle style tip for paper piercing, I used it once and slightly bent the tip but have found it is perfect for removing the backing from Candi fix, I stab at the foam pad and pul up and the backing comes away so easily, no picking at it with your fingers nail***


I then layed my blue paper face down onto the overlay making sure to keep things lined up square, i pressed down to make sure the foam pads stuck and then turned it over and removed the main body of the overlay


This is what I was left with, I love it so much.  As the chevron elements are die cut some of them have little pips that require a nip with scissors of a quick sand with a nail file.


I stuck the chevron embellished paper onto a card blank using double sided tape


 I then added some twine down the spine or the card for some extra texture 


And here is the finished card using what would be classed as waste material.


Next heres what I did with the main overlay


 I attached it to a card blank using Hi Tack glue


I love the colours and how it just pops


I stamped a couple of sentiments using Black ink onto the overlay


and then added some blue pearl gems


the finished card, I hope you'll agree it's a very modern and funky and would suit many recipients.  

I hope to bring you many more tutorials and hints and tips very soon
T x